Install on Windows and Initial Configurations
downloads SoftEther VPN adder:http://www.softether-download.com/files/softether/v4.24-9652-beta-2017.12.21-tree/Windows/SoftEther_VPN_Server_and_VPN_Bridge/
Video reference:https://www.youtube.com/watch?v=VbvRhPqNCsk
Installation Procedure Using the Installer
Preparing the Installer File
The VPN Server Windows version installer file is an executable file with the name softether-vpnserver_vpnbridge-v4.24-9652-beta-2017.12.21-windows-x86_x64-intel.exe
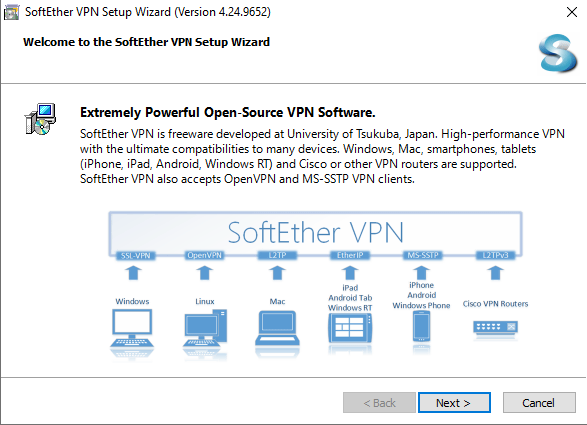
Starting the Installer
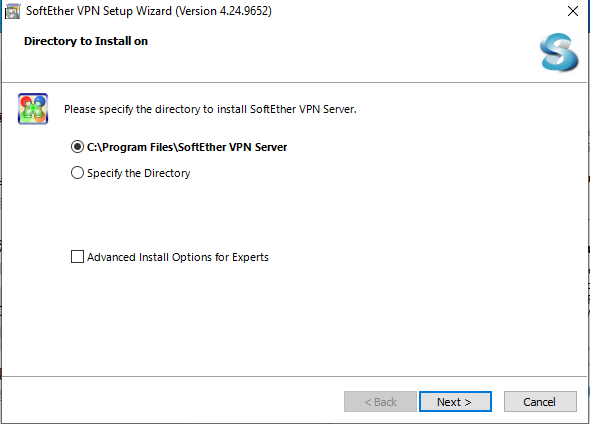
Start the installer by double-clicking the VPN Server installer file. The Windows Installer-based installer starts automatically. Using the installation wizard, you can select the name of the installation directory. (By default, the program is installed to Program Files\SoftEther VPN Server on the system drive.) The VPN Server process writes large log files to the installation directory, so we recommend selecting an area on the hard drive that has high transfer rate and a large amount of unused space.
The installer automatically registers the SoftEther VPN Server system service and sets the program to automatically start in background mode at Windows startup.
Default Settings of VPN Server Manager
When VPN Server Manager is started for first time, nothing is registered to the [SoftEther VPN Server Connection Settings] list on the startup window.
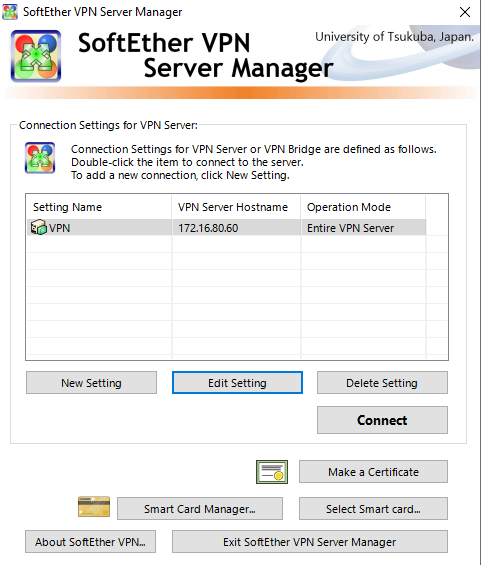
click [Edit Setting]
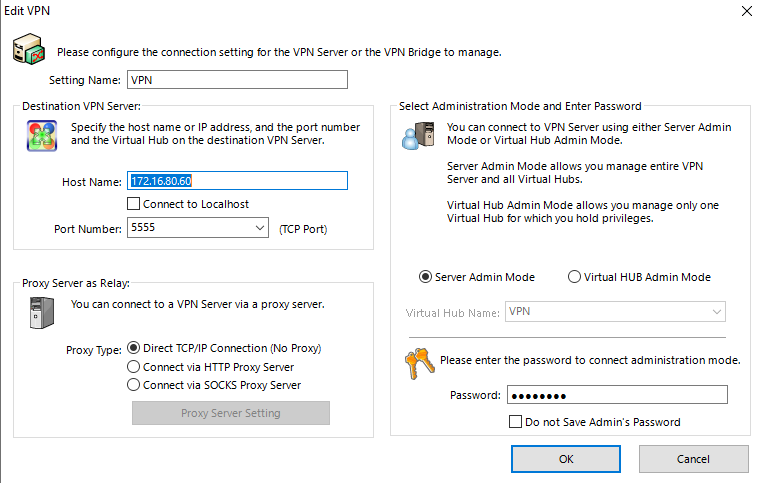
eg:Setting Name is UC-series “Virtual Hub“configuration
click OK
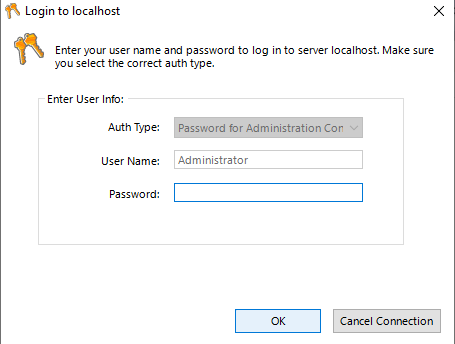
click OK

Enter Password
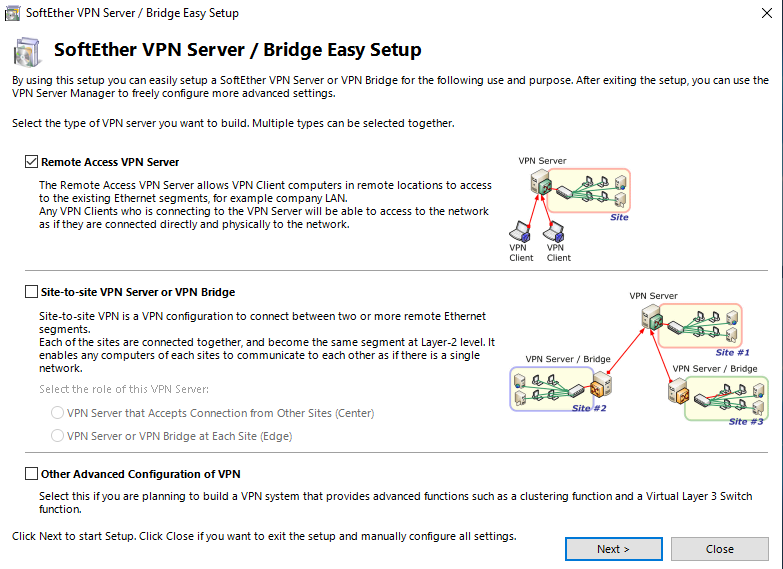
Select [Remote Access VPN Server]

Enter Hub Name
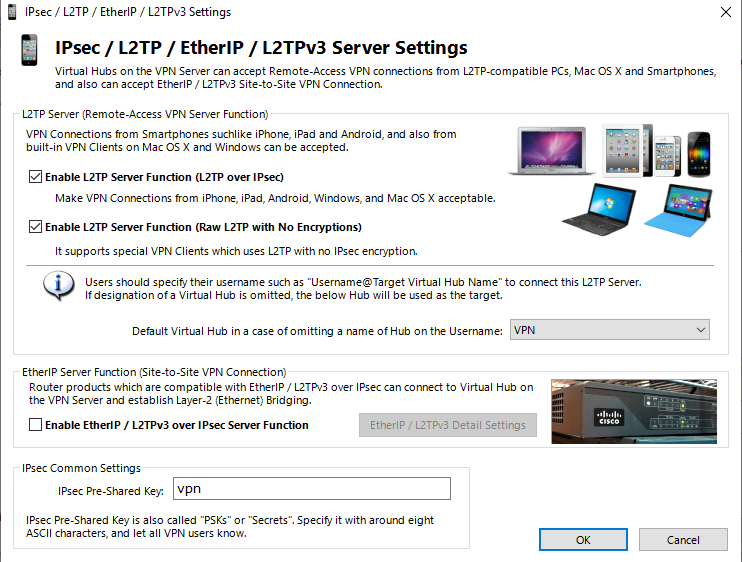
Select As shown

Select [Disable VPN Azure]

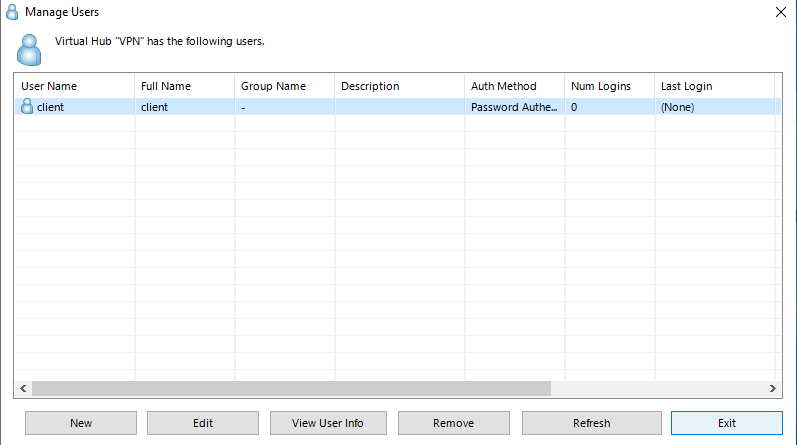
click [Create Users]
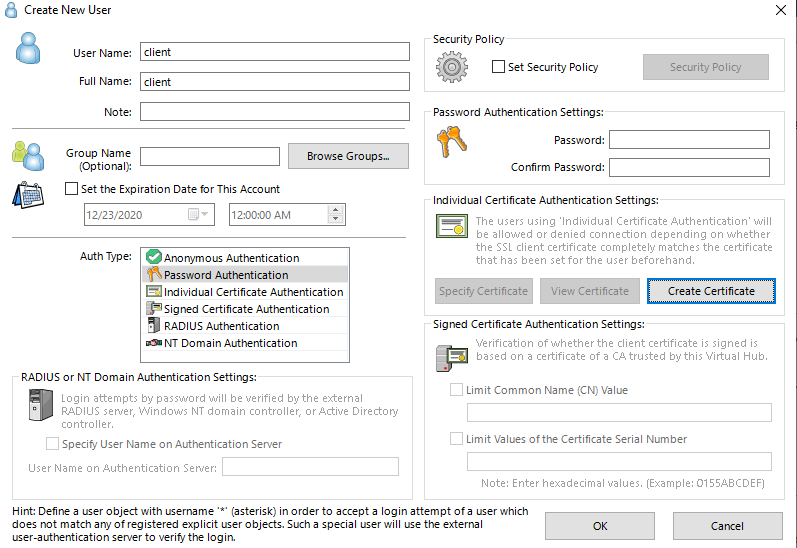
eg:Setting User Name is UC-series “User Name“configuration
Setting Password is UC-series “User password“configuration
Enter [User name];[Full Name];[Password]. click OK
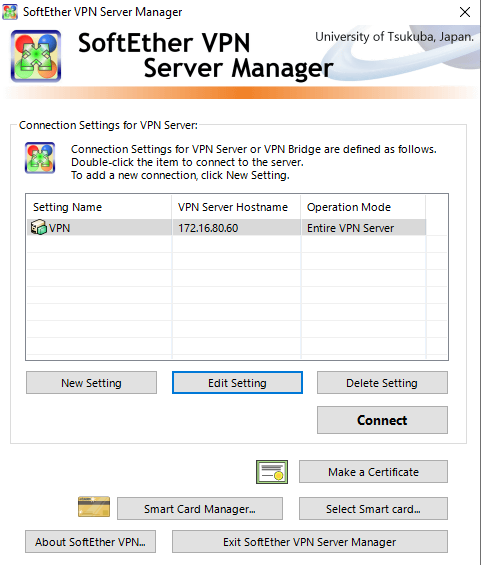
click [Connect]
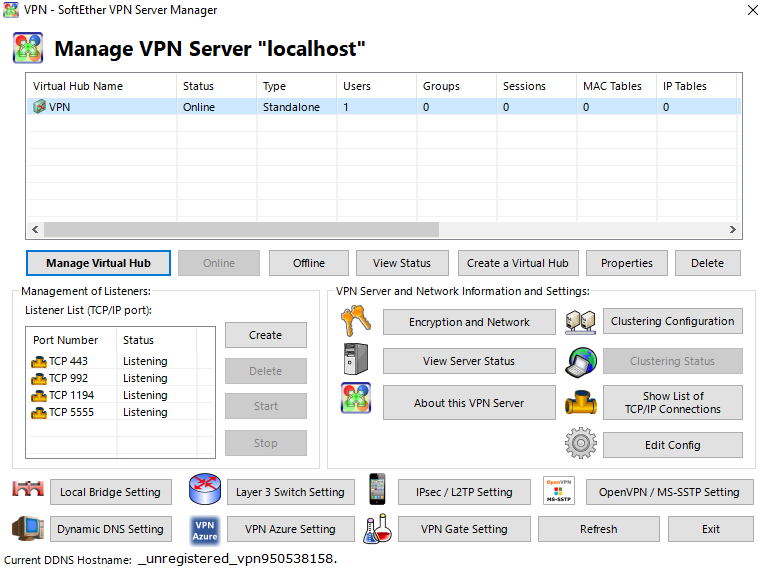
SSTP Server win10 install is done
