Connect Windows PC to OpenVox UC-Series VoIP PBX via OpenVPN
OpenVox appears on the desktop of the PC, and you can use the OpenVPN GUI to connect to the OpenVox UC-Series VoIP PBX later.
The OpenVPN GUI appears on the desktop of the PC, and you can use the OpenVPN GUI to connect to the OpenVox UC-Series VoIP PBX later.

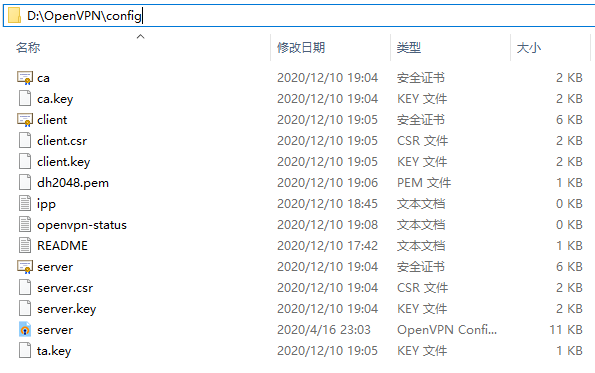
- Copy the following files to config folder (e.g. D:\OpenVPN\config).

| File | Note |
| ca.crt | Root Certificate Authority |
| client.crt | a certificate file for Windows client |
| client.key | a key file for Windows client |
| client.ovpn | an OpenVPN connection file |
| ta.key | Required for client when SSL/TLS is enabled on the OpenVPN server |
2. Connect to the OpenVPN server.
a. Right click the OpenVPN GUI on the desktop, and run as administrator.

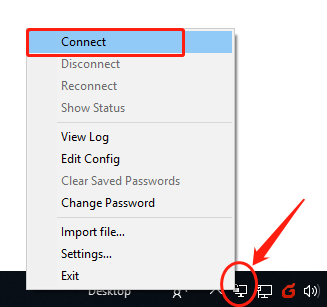
b. Find the OpenVPN GUI in the bottom right corner, right click the icon, and click Connect.

c. If the client is connected to the PBX server, you will see the status shows as below.

