Set up No-IP DDNS on UC-Series VoIP PBX
If your ISP doesn’t provide a static public IP address for you, you can create a No-IP DDNS account, and set up DDNS on UC-Series VoIP PBX.
Step 1. Create a No-IP account

- Go to the No-IP Sign Up page.
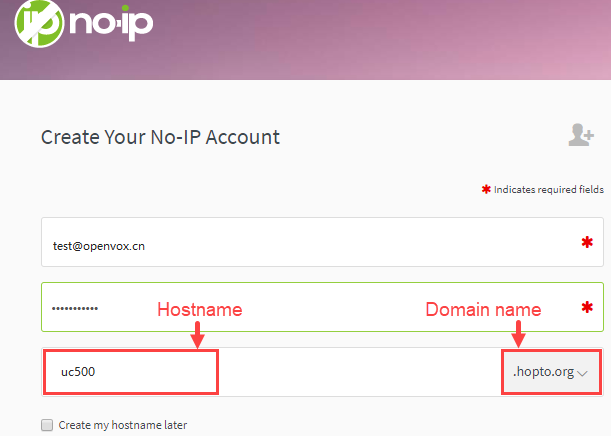
- On the new account form, fill in the required fields.
- Email: Enter your email address as the No-IP account.
- Password: Set the password of the No-IP account.
- Hostname: Select your desired domain name, and enter your desired hostname.
- At the bottom of the page, click Free Sign Up.
No-IP will send a confirmation email to your email address.
Step 2. Confirm your No-IP account
Check your email from No-IP, click Confirm Account. Your No-IP account is activated.
Step 3. Set up No-IP DDNS on PBX
- Log in the PBX web interface, go to System > Network > DDNS Client.
- Select the checkbox of Enable DDNS.
- In the DDNS Server drop-down list, select www.no-ip.com.
- Enter your No-IP account information and the fully qualified domain name.
- Click Save and Apply.

Step 4. Set up Port Forwarding and NAT
- If your PBX is behind a router, you need to set up Port Forwarding on the router to allow external devices to access to the PBX.
- To ensure that the external traffic packets can be sent to the correct destination, you need to set NAT on your PBX.
Important: To enhance the security of your PBX, we suggest you to change the default ports.
| Service | Default Port |
| HTTPS | 443 |
| SIP | 5060 |
| RTP | 10000-20000 |
Step 5. Check the DDNS connection
To check the connection of an external device from the Internet, enter the domain name and external port to access the PBX.
