OpenVox Wireless Gateway Connect with playSMS Manual
Welcome to use OpenVox SMS Platform, it is based on a Free and Open Source SMS Gateway Project with OpenVox Wireless Gateway SMS API integrated.
You can use it to send/receive SMS with OpenVox gateways and do many incredible things. And all OpenVox wireless gateways can connect with playSMS, including VoxStack series wireless gateways, SWG-1016 series wireless gateways, and SWG-2016/32 series wireless gateways.
For more details about the project playSMS, please refer the official website.
Content
1、playSMS environment to build
2、Method of docking OpenVox wireless gateway by playSMS system
3、the use of admin administrator users
4、the use of ordinary users
1、playSMS environment to build
Download the playsms.zip file from this link : http//image.openvox.cn/
After decompression you can see the following 4 files:
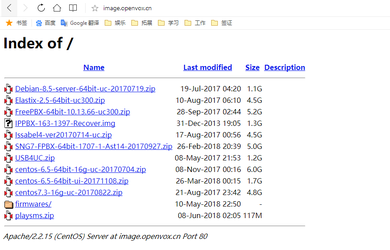

Double-click to follow the virtual machine;
![]()
After the installation is complete, you see the following screen:
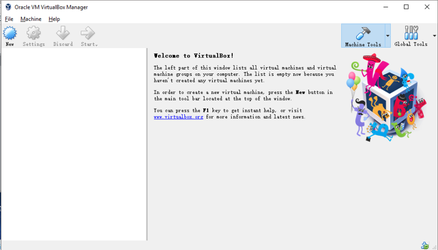
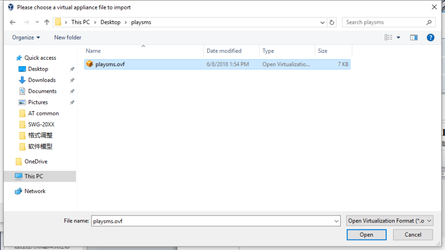
Click File -> Import Virtual Appliance to import the virtual machine and select the .ovf file to import:
After importing, you can see the following screen:

Then start the virtual machine:
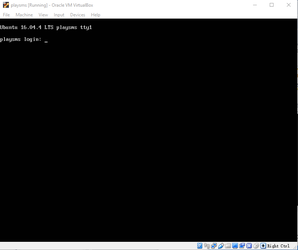
Login name and password: root/playsms
Default IP : 172.16.99.99
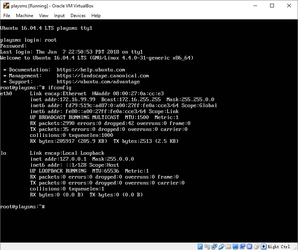
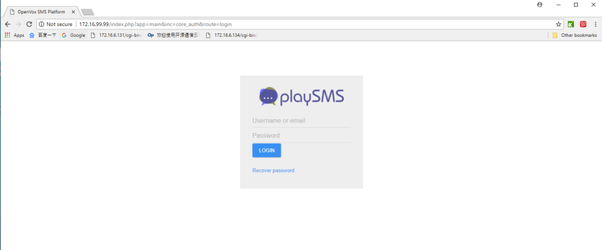
Enter 172.16.99.99 in the browser to access the playSMS system:
The administrator’s username and password are: admin/admin
The login page is as follows:
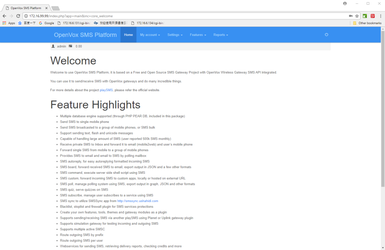
2、Method of docking OpenVox wireless gateway by playSMS system
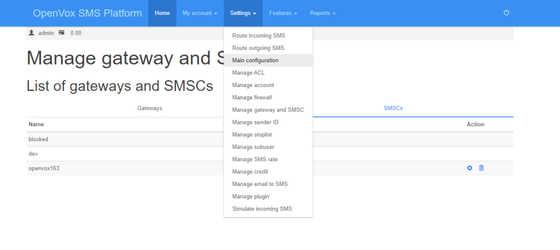
Settings –> Manage gateway and SMSC
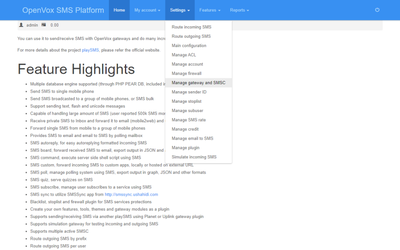
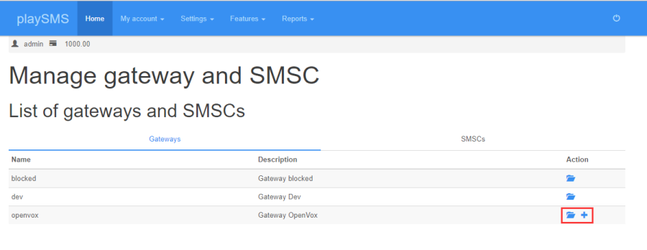
Click the button to view the OpenVox wireless gateway related information and the playSMS system and OpenVox wireless gateway docking examples.
![]()
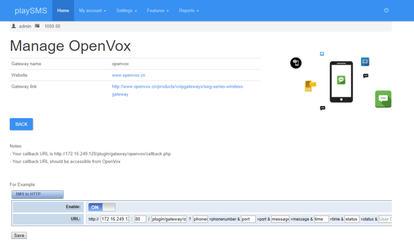
| Options | Definition |
| Gateway name | Gateway category, default is openvox, not modifiable |
| Website | OpenVox website |
| Gateway link | OpenVox SWG Series Wireless Gateway Introduction Page Link |
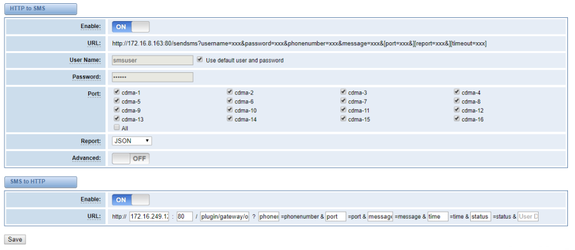
Referring to the example, we can find the HTTP to SMS function on the gateway’s web page, as follows:

In the SMS -> SMS Settings page, find the HTTP to SMS and SMS to HTTP functions and turn it on. In the HTTP to SMS feature, you can change the User Name and Password used to send text messages. The default value is: smsuser/smspwd.
In the SMS to HTTP function, fill in the fields as shown in the example.
Click the button to add the OpenVox wireless gateway for docking the PlaySMS system. After the configuration is complete, click SAVE to save:
![]()
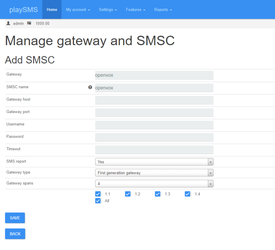
| Options | Definition |
| Gateway | gateway category, default is openvox, not modifiable |
| SMSC name | The default value is openvox. It can be modified and must be filled in. |
| Gateway host | IP address of Gateway |
| Gateway port | Port used to access the gateway web |
| Username | The user name defined by the HTTP to SMS function on the Username gateway. The default is smsuser. |
| Password | Password defined by the HTTP to SMS feature on the password gateway. The default is smspwd. |
| Timeout | Returns the timeout period of the SMS sending status report |
| Gateway type | First Generation Gateway: VS-GW400 Series Gateway Second Generation Gateway: SWG Series Gateways |
| Gateway spans | selects the port on the gateway to send text messages; if the port selected, and there is no card on the gateway, may result in unsuccessful SMS sending |
On the SMSC page, you can modify or delete the added OpenVox wireless gateway
3、the use of admin administrator users
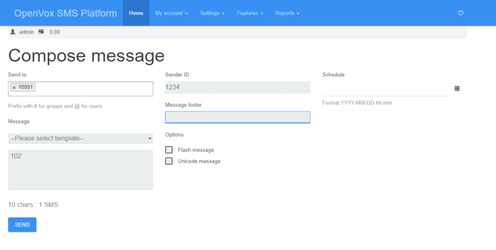
Admin users can send text messages directly using the default configuration:
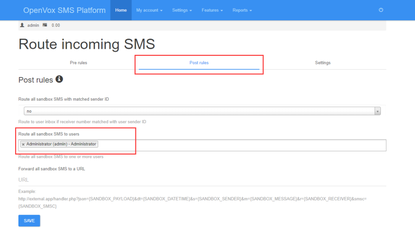
If you want to receive text messages that can be sent to the admin user’s inbox, you need to configure Route incoming SMS:
4、the use of ordinary users
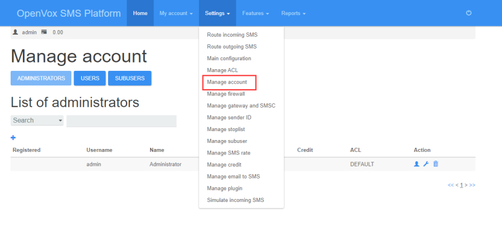
Using the admin administrator account, we can add more than one ordinary user. Create an ordinary user named test as follows:
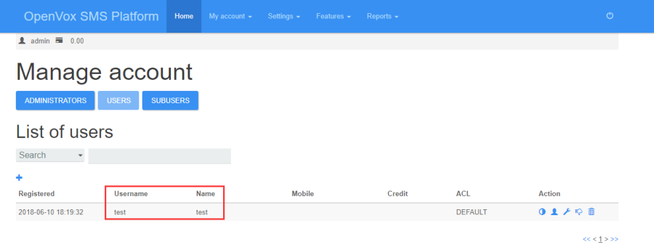
Then create a short message for this user to send a route:
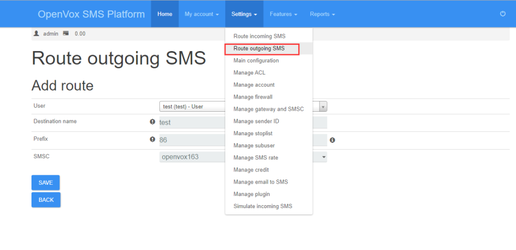
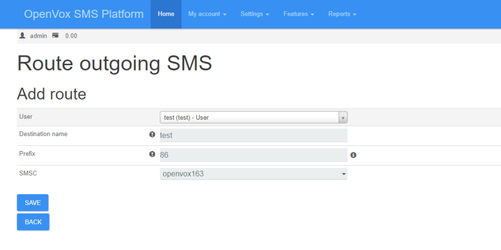
| Options | Definition |
| User | selects which user to create a message to send a route |
| Destination name | Description of the route name |
| Prefix | country prefix |
| SMSC | chooses which port of the gateway to send SMS |
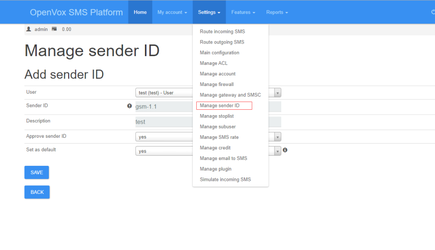
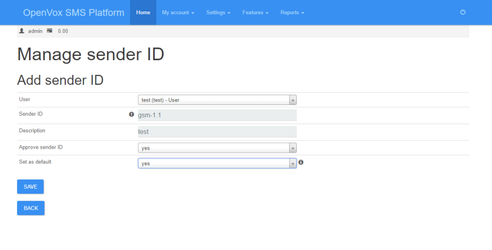
If the text message received through port 1 of the gateway can be sent to the test user’s inbox, you need to configure the sender ID for the test, as follows:
| Options | Definition |
| User | chooses which user to create a sender ID for |
| Sender ID | sets the user’s Sender ID |
| Description | description |
| Approve sender ID | set to yes |
| Set as default | set to yes |
In addition, the incoming SMS on the Route needs to be configured:
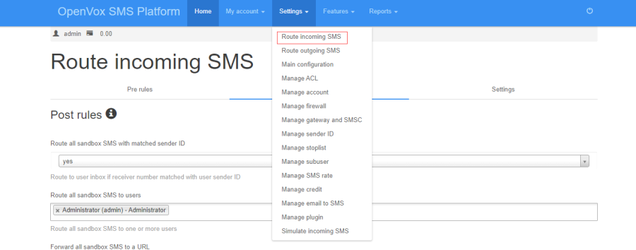
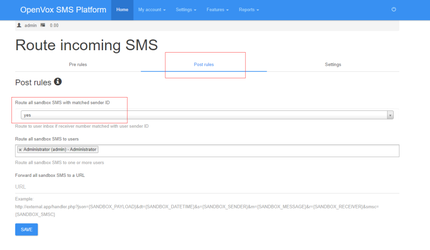
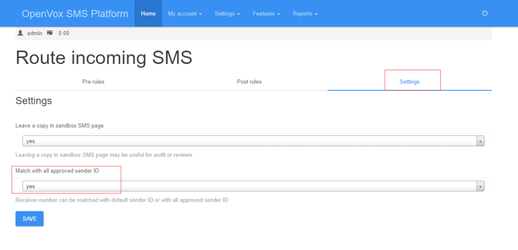
Then log in to the test user to use the test user to send and receive text messages.
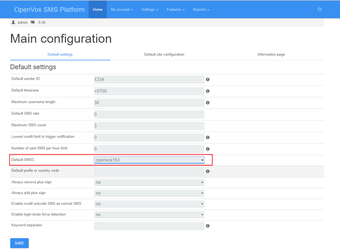
Note: If you want each user to use their own sender ID, you need to configure in the main configuration:

