Quick Start Guide
1. Overview
Magnet Gateway is a device with Magnet trunk interfaces and network interfaces, it makes voice communication between Magnet trunk and VoIP network, so it is also called a Magnet to VoIP converter.
In the communication system of the Army or Railway, traditional PBX provides Magnet interface only, and this is one of the commonest communication tools. Actually, these Magnet PBX systems are isolated and become the biggest obstacle to working performance. Therefore it’s imperative to integrate Magnet interface with traditional telephone communication network or with Next Generation Network (NGN) together.
With the development of VoIP technologies, many and many armies and railway departments are going to build VoIP communication systems. Meanwhile, in army and railway departments, traditional communication systems and business applications based on Magnet are very important, they should keep the original communication network too. Therefore, OpenVox brings the solutions of Magnet to VoIP which can meet the needs of the majority of military and railway customers.
2. Hardware Information and Connection
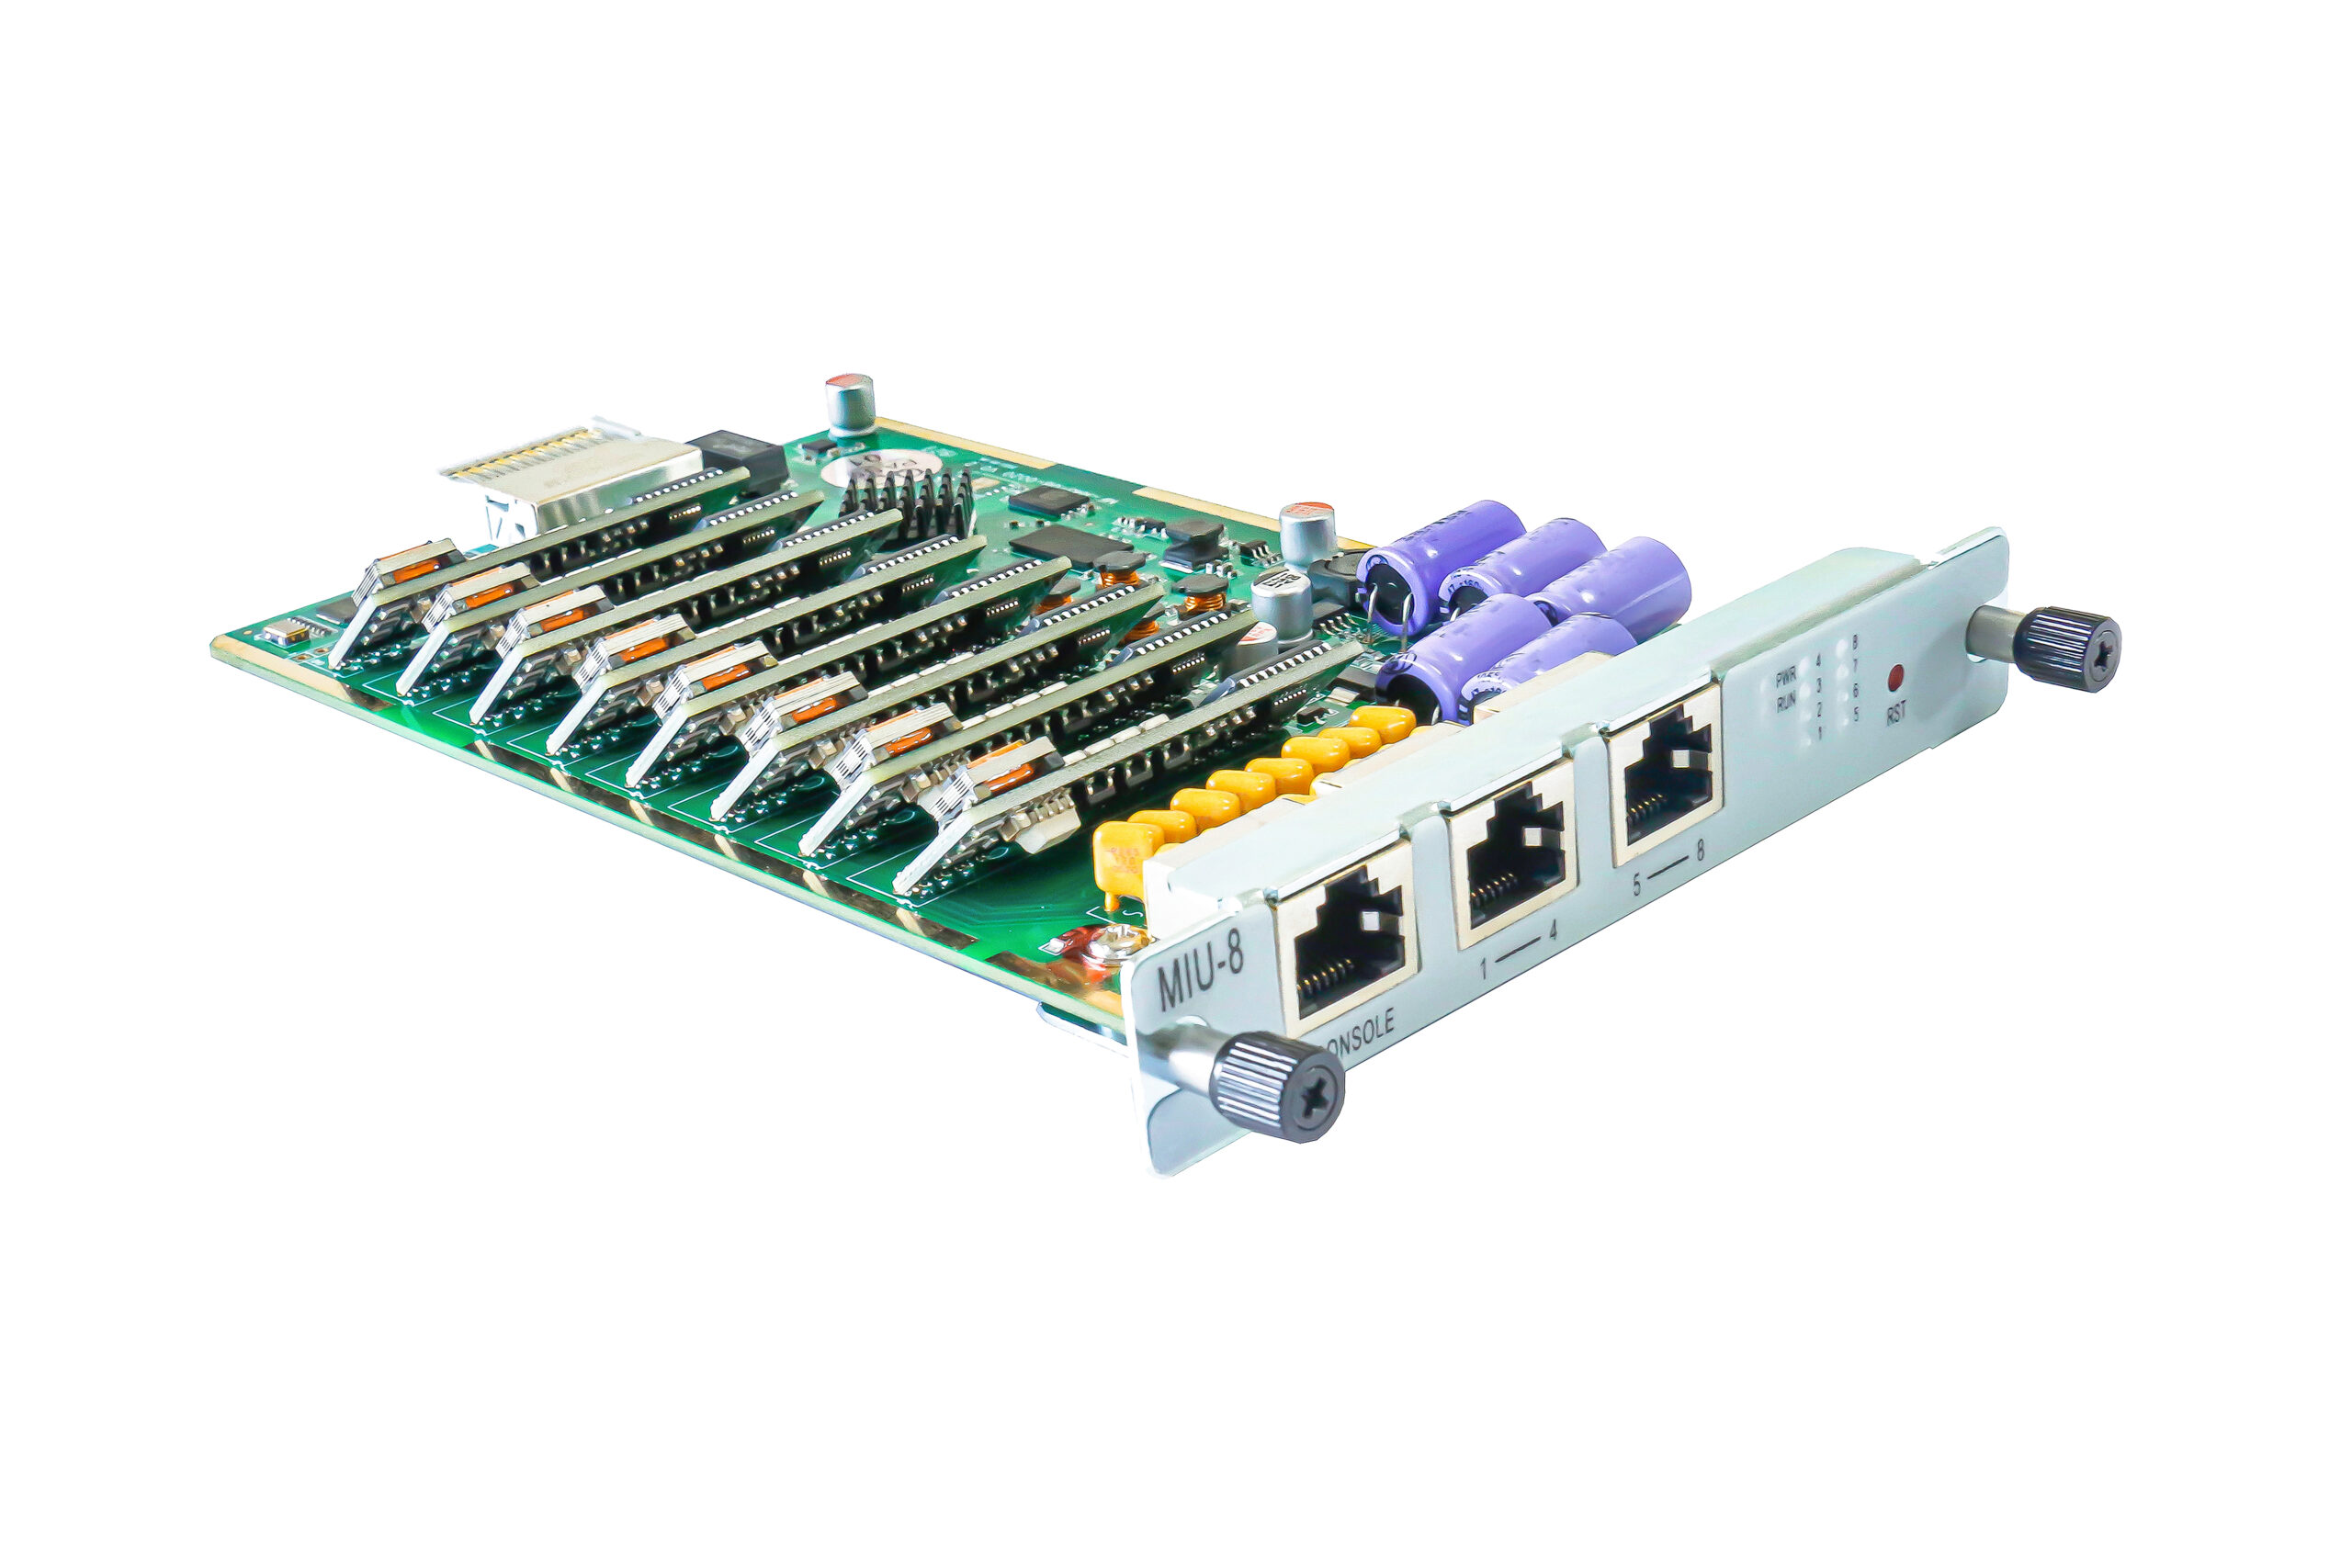
Simply insert the Magnet Gateway card into the UCP chassis and connect the UCP’s switchboard network port to the local switch with a network cable.


3. Configurations
3.1 Login Information
Default IP Address: 172.16.80.X (X is the slot number of the chassis; if it is slot 3 of the UCP1600, the IP address is 172.16.80.3).
Username: admin
Password: admin
Open your browser and input http://172.16.80.x, after input username and password, then you will see the main page of Magnet Gateway.
3.2 Magnet Analog Channel Settings
3.2.1 Go to menu ANALOG-Channel Settings, Click the edit icon :

3.2.2. After entering the Channel Settings, configure the default parameters as needed.

Parameters description:
Send Ring: After you pressed the button 2 times, then the magnet phone is considered necessary to send a call out.
Auto answer: When a call comes in from a magnet phone, it will ring 2 times before automatically going off-hook.
Silence threshold: the threshold for silence detection. if set to 1000, means more than1000 ms duration of silence will be considered as Silence happens.
Wait for hangup: The magnet phone waits for the silence detection, and if the silence reaches the preset time it is considered to be hung up. 10000 means 10 seconds.
Wait for talk: When the sound energy reaches the preset threshold(ms), it automatically goes off-hook to bridge a call.
3.3 Set the outbound and inbound routes
3.3.1. Set the outbound and inbound routes
-
- The magnet phones call each other

-
- The sip and magnet call each other
Register a sip extension, set up routing rule from sip to the magnet phone:


4. Call testing

- Magnet phone on port 1 to port 2
With the microphone in hand, hold the transmitter marked [4] in the above diagram, then press the ring button marked [3] and press it 2 times in succession for the gateway to detect an incoming call. After the Port 1 phone sends a call, the gateway will route it to the magnet phone on Port 2. The ring stream display LED marked [2] in the above diagram will flash, and after 2 rings it will automatically go into answer mode. Pick up the magnet phone on Port 2 and you will be able to talk to the phone on Port 1.
- Softphone to magnet phone
Use the softphone to register sip extension 8100 and dial any number. The gateway will route to the magnet phone on the channel it is connected to and automatically enter answer mode after ringing 2 times.

