UC Series IPPBX connect to old version of cloud management platform
1 Register an account on the Cloud Platform
1.1 Sign Up and Activation
- Enter into the website https://cloud.openvox.cn, and fill in the registration information correctly.
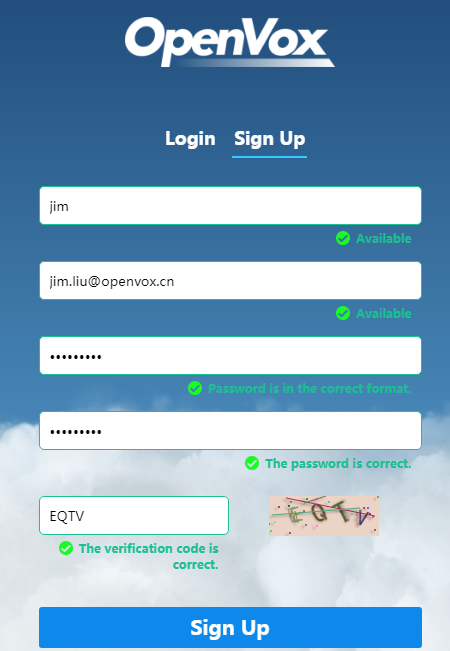
- Click “Sign Up”, you will see the prompt.
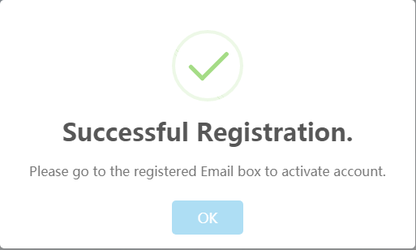
- Please follow the prompt to activate your account.
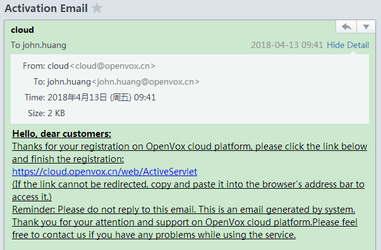
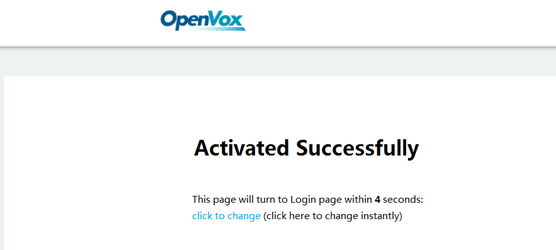
- Activated successfully.
1.2 Login
- Fill in the account info and click “Login” button.

2 Set up UC Series IPPBX
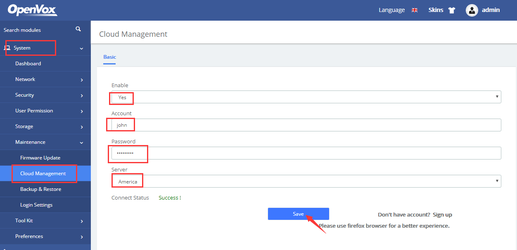
- Log in to the web of UC Series IPPBX, and go to page “System > Maintenance > Cloud Management”;
- Fill in the account and password;
- Turn on the switch and click “save”, this device will connect to the cloud management platform, and the connection status will change.
3 Operate the Equipment on Openvox Cloud Platform
3.1 HOME
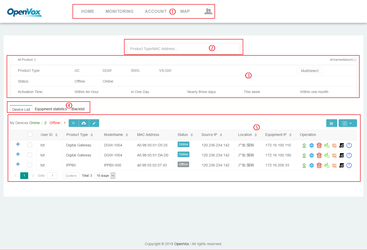
The HOME page of OpenVox Cloud Platform is composed of five parts: navigation bar, search bar, filter box, tabs and content area.
| Item | Description |
| ①Navigation Bar | Include the following menu items:
|
| ②Search Bar | Here you can enter the User ID, Product Type, Model Name, MAC Address and IP Address of any device to search. |
| ③Filter Box | Used to filter the devices in the Device List and Blacklist. |
| ④Tabs | Include the following tabs:
|
| ⑤Content Area | View information or operate device. |
3.1.1 Device List
- Under Device List, you can see all the OpenVox Communication Equipment connected to your account.

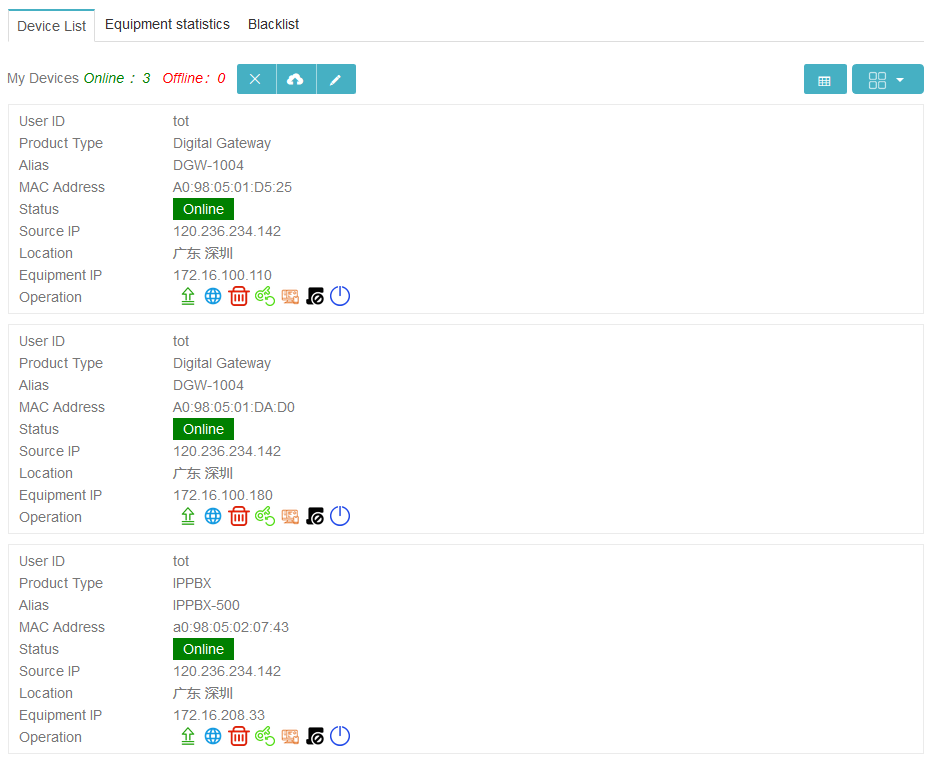
- If the OpenVox Communication Equipment is connected to the cloud platform, you will see the Online status on the Devices List.
- Click the “+” sign to view the details of the device.

- If you want to configure the devices which are in a distance through the web interface, you can log in to the cloud platform and click on the
 WEB Remote Access button, then you will enter an interface to operate or monitor your device.
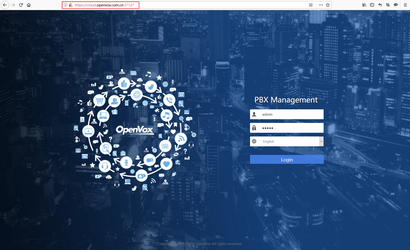
- If you want to get information via CLI, you can click
 SSH Remote Access to access the command line interface on web page.
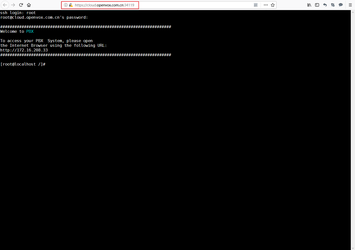
- If you forgot the password of a device connected to the cloud management platform, click the
 Reset icon as marked in the figure. After passing the verification, the password will be reset to the default “admin/admin”.
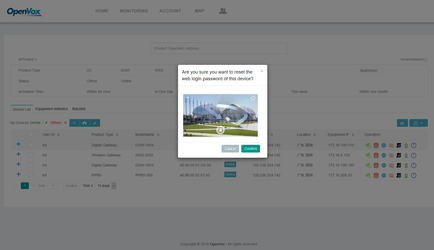
- If you want to reboot some remote devices, you can click
 Reboot button , pass the verification and confirm, the chosen device will reboot automaticlly.
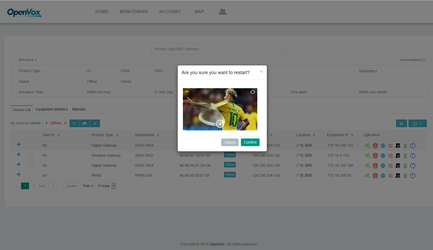
- Click the
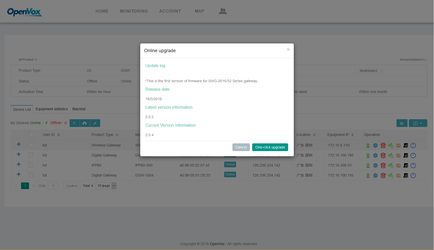
 Upgrade The pop-up window will prompt the current device version, the latest version, and the update log. You can upgrade the device to the latest version on the cloud management platform.
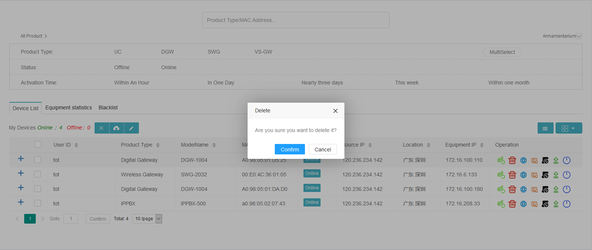
- If you want to remove some devices that will not be online again, you can
 Delete
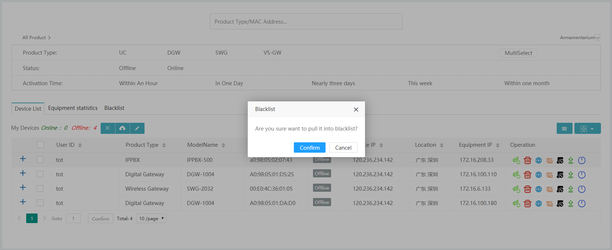
- While if you want to remove some devices that connect to your account constantly, you can
 Add them to Blacklist.
3.1.2 Equipment Statistics
Under the Equipment Statistics tab, you can see the number of connected devices and online devices under the current account, what’s more, there also provides an intuitive pie chart.

3.1.3 Blacklist
In the Blacklist Page, you can check the blacklist and remove device from the blacklist.

3.2 MONITORING
On this page, you can enable or disable the monitoring service. When you enable the monitoring service, you will receive an alert email ten minutes after the device turns offline.

3.3 ACCOUNT
In this section, you can add sub-account or edit accounts as you wish.

3.4 MAP
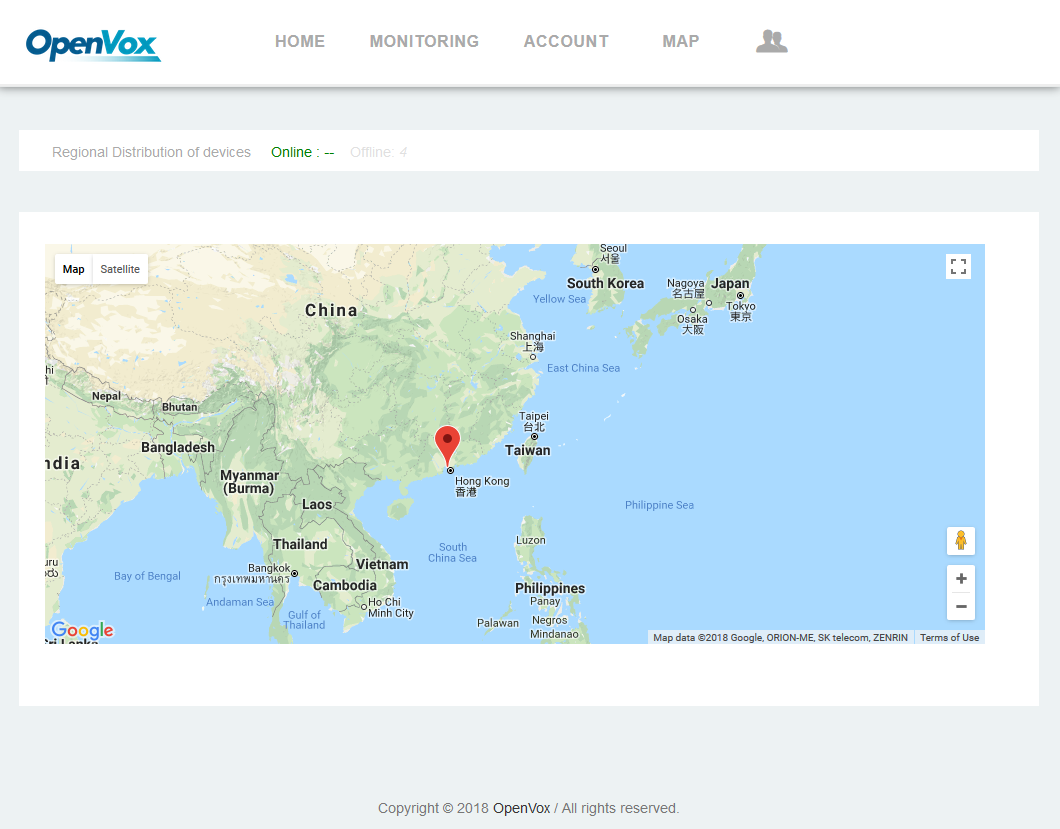
You can check the location of devices on MAP page.
